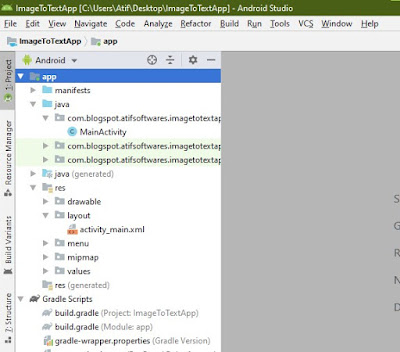
Step 1: Create a new project or open your project
Step 2: activity_main.xml:
<?xml version="1.0" encoding="utf-8"?>
<LinearLayout xmlns:android="http://schemas.android.com/apk/res/android"
    xmlns:app="http://schemas.android.com/apk/res-auto"
    xmlns:tools="http://schemas.android.com/tools"
    android:layout_width="match_parent"
    android:layout_height="match_parent"
    android:gravity="center"
    tools:context=".MainActivity">

    <Button
        android:id="@+id/button"
        android:layout_width="wrap_content"
        android:layout_height="wrap_content"
        android:text="Cick Button" />

</LinearLayout>
Step2: MainActivity.java
package com.blogspot.devofandroid.myapplication;

import android.support.v7.app.AppCompatActivity;
import android.os.Bundle;
import android.view.View;
import android.widget.Button;
import android.widget.Toast;

public class MainActivity extends AppCompatActivity {

    @Override
    protected void onCreate(Bundle savedInstanceState) {
        super.onCreate(savedInstanceState);
        setContentView(R.layout.activity_main);

        //initialize
        Button mButton = (Button)findViewById(R.id.button);
        //handle onClick
        mButton.setOnClickListener(new View.OnClickListener() {
            @Override
            public void onClick(View view) {
                //display toast you can do anything you want onClick here
                Toast.makeText(MainActivity.this, "Button is Clicked", Toast.LENGTH_SHORT).show();
            }
        });

    }
}
Step 3: Output:


Comments
Post a Comment